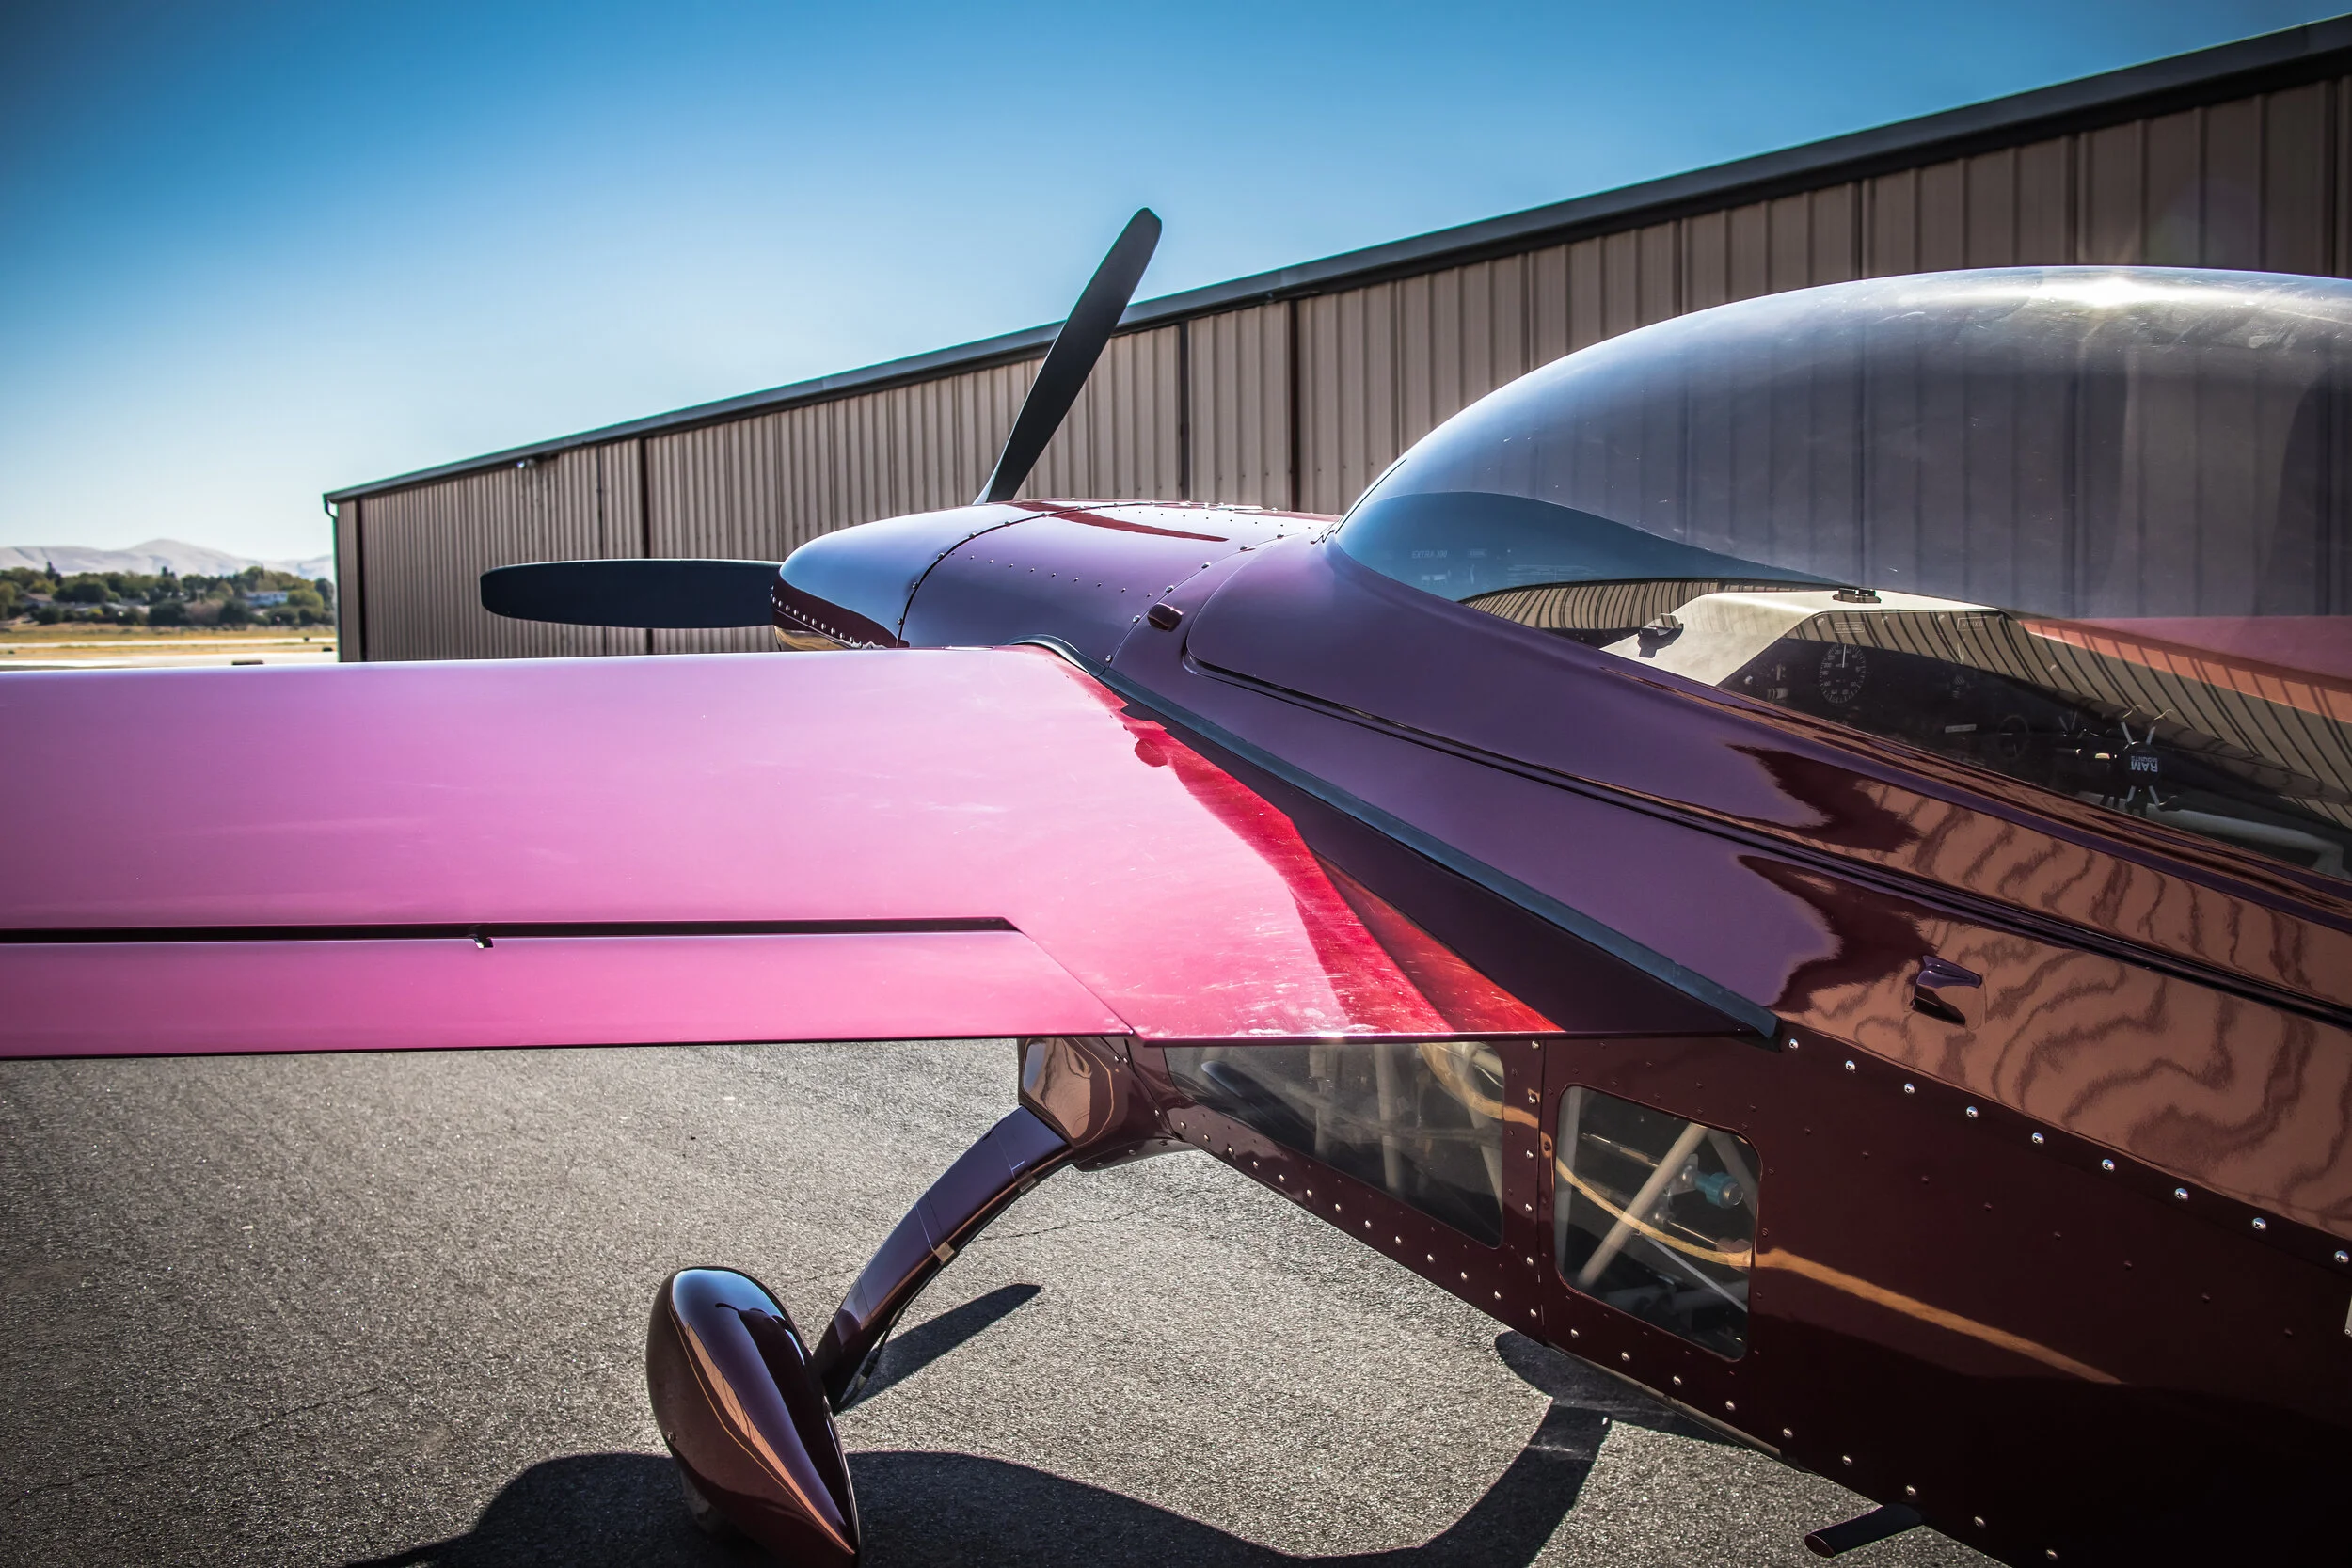
Extra 300 approach and landing techniques
/Are you in the market for an Extra 300 and you have never flown one? Or perhaps you fly an Extra 300 and you are looking at improving your approach and landing technique. Hopefully this video helps. Three important elements must be nailed consistently in order to get a good approach to landing in the pattern:
Altitude: Part of having good pacing in the pattern, downwind, 45 or base entry, is having consistent entry altitudes to start your approach. Typical pattern altitudes are 1,000 feet AGL so barring a non-standard pattern altitude, you will fly a consistent height, which means a consistent altitude to lose from the pattern, to touchdown. With a base entry, you have to estimate where you want your altitude to be based on where you would make your turn, if you were in the pattern. This makes it a bit more challenging but it’s not so bad. The strait in approach can be the most challenging when it comes to gauging altitude, but that is for another blog post.
Airspeed: Airspeed is critical in the Extra. Consistent airspeed control will ensure proper rate of decent, and set you up for proper pacing from round out (flare) to touchdown. 120kts is a great pattern speed as it wont cause as many problems with fitting in the traffic pattern. You will typically be the fastest airplane in the pattern anyway, so don’t increase issues by flying 150kt patterns. 90kts is advertised as engine out speed by the POH, so that is what we can derive as best glide speed. At around 100kts, you will notice a divergence of angle of attack, and flight path attitude, so 120kts keeps the nose more in line with flight path angle. Where this comes into play, is once you start your decent. At 120kts, and abeam the aiming point, I teach “power, pitch, and turn.” If you were lets say, 100kts abeam the aiming point, your angle of attack to maintain pattern altitude will be about 6 degrees nose up, so when you power, pitch, the flight path angle will be about 6 degrees lower than where you think it might be, due to where you are putting the nose on the horizon. This typically causes students to fall short of their aiming point due to the increased rate of decent. The goal is to be 85-90kts over the fence so 120kts also gives good spacing to lose the 30-35kts of airspeed from abeam your aiming point, to over the fence.
Aiming Point: This is where the approach really starts, and if you are on target altitude, and target airspeed, your approach will seem familiar to you and you won’t be as uncomfortable going into an unfamiliar airport. The aiming point is up to you, but think about it conceptually as you literally driving this airplane to the aiming point, to where if you didn’t arrest your decent and flare the airplane, you would smack the airplane into the ground where your aiming point was. I typically pick the runway edge as my aiming point, but that again is just a personal choice. Once abeam your aiming point on the downwind, that is your trigger to start the approach by making a power reduction, pitching down, and starting your turn, or what I call “power, pitch turn.” From there, you are making minor adjustments to power, pitch and bank, and flying a constant radius turn while slowing form 120kts to 85-90kts and descending from pattern altitude, to the flare above your aiming point.
One of the most beautiful things about aerobatic aircraft with high wing loading, is that they can go down and slow down, so losing airspeed becomes more of an organic event. Throw the old mantra of pitch for airspeed, power for altitude right out the window. You can reduce power, while keeping some power in and not going to idle while watching airspeed reduce as you approach the runway. This really gives you the ultimate control over the airplane. Rarely will you ever find yourself in a situation where you are high and fast in an Extra 300, especially by managing your airspeed and altitude as described above.
If entering from a left or right base entry, the above applies, there is just some interpretation on height and airspeed based on your position.
Here is a video showing a 3 point landing, and wheel landing, from the pattern using the techniques above: